15

I see a lot of backup instructions like this: How do I backup my Raspberry Pi?

...involving the command line in OSX. But can't I just use the OSX "Disk Utility" to create a "New Image" from the partition on my SD card? Is that not a recoverable backup? And so much easier with a GUI! So there must be something wrong with it...?

pinhead
  • 451
  • 1
  • 6
  • 18

9 Answers9

18

Unix dd

I'm boring and use the ancient dd command in OS X.

  1. Plug your sdcard into your Mac
  2. Open Disk Utility
  3. Select your sdcard and take note of its Device name
    (Mine is usually /dev/disk2) disk utility
  4. Open Terminal
  5. Find out your username by typing whoami and pressing the Return key.
  6. (REPLACE disk AND sjobs WITH THE CORRECT VALUES BEFORE RUNNING!!!)
    (FAILURE TO SET CORRECT VALUES MAY CAUSE DATA LOSS!!!)
    Type sudo dd if=/dev/disk2 of=/Users/sjobs/Desktop/raspberrypi-backup.img and hit Return
  7. Type in your password and press Return again
  8. Go answer questions on Stack Exchange until dd finishes.
    You'll know when it's done, because dd will tell you how much it copied and give control of the command prompt back to you.

Linux

You can also do this on Linux:

  • Use gnome-disks instead of Disk Utility
  • Use /dev/mccblk0 instead of /dev/disk2 gnome-disks
  • Use gnome-terminal instead of Terminal
  • Use /home/sjobs/ instead of /Users/sjobs
  • YOU STILL NEED TO PICK THE RIGHT DISK AND USERNAME!!!

Since Linux can read Raspbian's ext4 filesystem, there's probably a better way to back it up on Linux, maybe with some of tools that clonezilla uses.

Hydraxan14
  • 1,876
  • 1
  • 13
  • 23
4

If you are using OS X with the dd command, use /dev/rdiskX instead of /dev/diskX and also bs=16m instead of bs=1m it should speed things up a lot.

Justin Lee
  • 41
  • 1
2

Any disk utility that's not file system specific (raw backup) should do it. I think Disk Utility does it.

Take note I don't have a mac (not anymore)

And besides, how hard could it be to type dd if=/dev/sdd of=/home/user/desktop/sdcard.img on a terminal?

Aloha
  • 7,176
  • 1
  • 29
  • 52
1

Please note that you must be careful with the following example. The number and series of partitions shall reflect your devices and partitions.

  • Open terminal app
  • Run diskutil list this shows all disks mounted (your card must be mounted). On this example it's /dev/disk2 with 32GB and 2 partition (one Windows_FAT_32 boot and other Linux)

    diskutil list
    
    /dev/disk2 (external, physical):
    
    0:     FDisk_partition_scheme                        *31.2 GB    disk2
    
    1:             Windows_FAT_32 boot                    58.7 MB    disk2s1
    
    2:                      Linux                         31.1 GB    disk2s2
    
  • umount (only partition not usb card) form Disk util or on Terminal.app with unmount /dev/disk2s1 (disk2s1 it's my disk, and my boot partition mounted on desktop)

  • clone with dd, for example:

    sudo dd if=/dev/disk2 of=~/Desktop/raspberrypi.dmg conv=sync,noerror bs=64k
    
brasofilo
  • 117
  • 4
abkrim
  • 248
  • 1
  • 2
  • 13
0

Yes you can and it's the best way I could find.

  1. Open Disk Utility
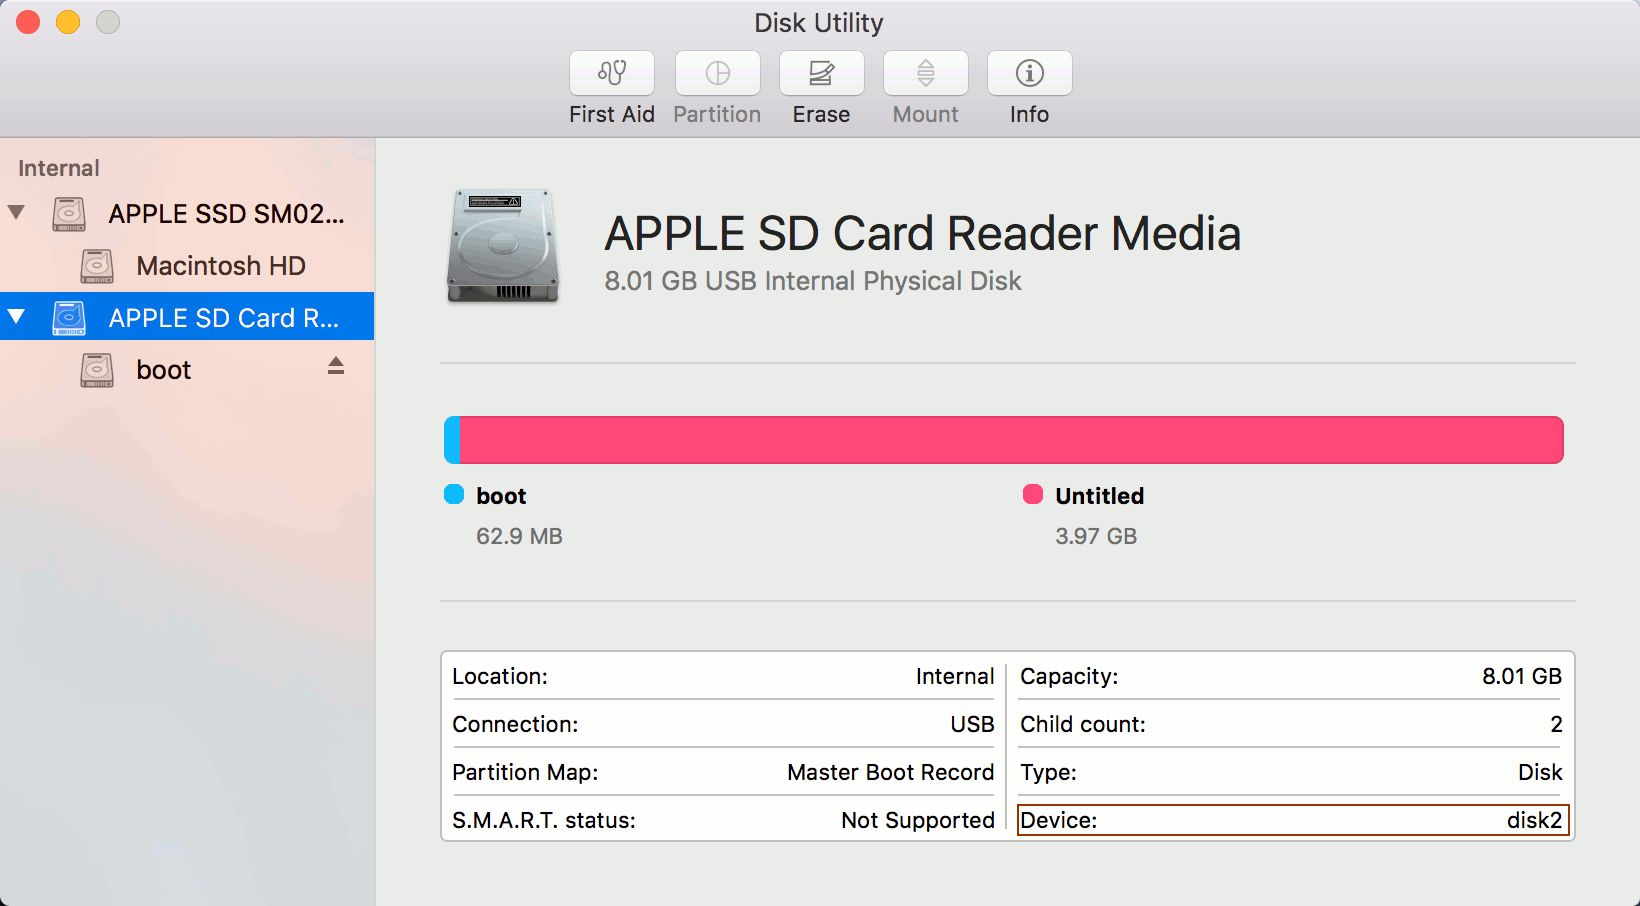
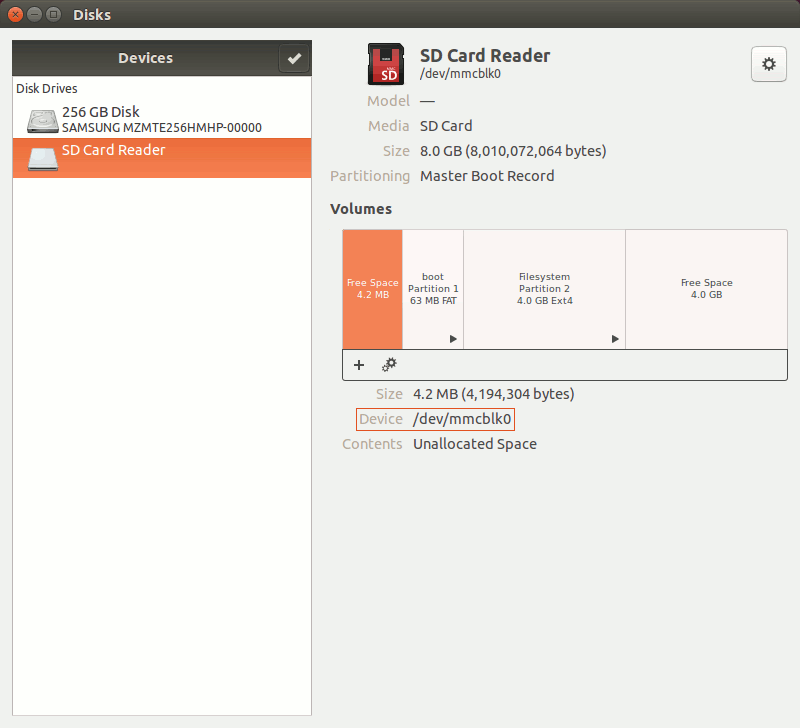
  2. Select your card reader
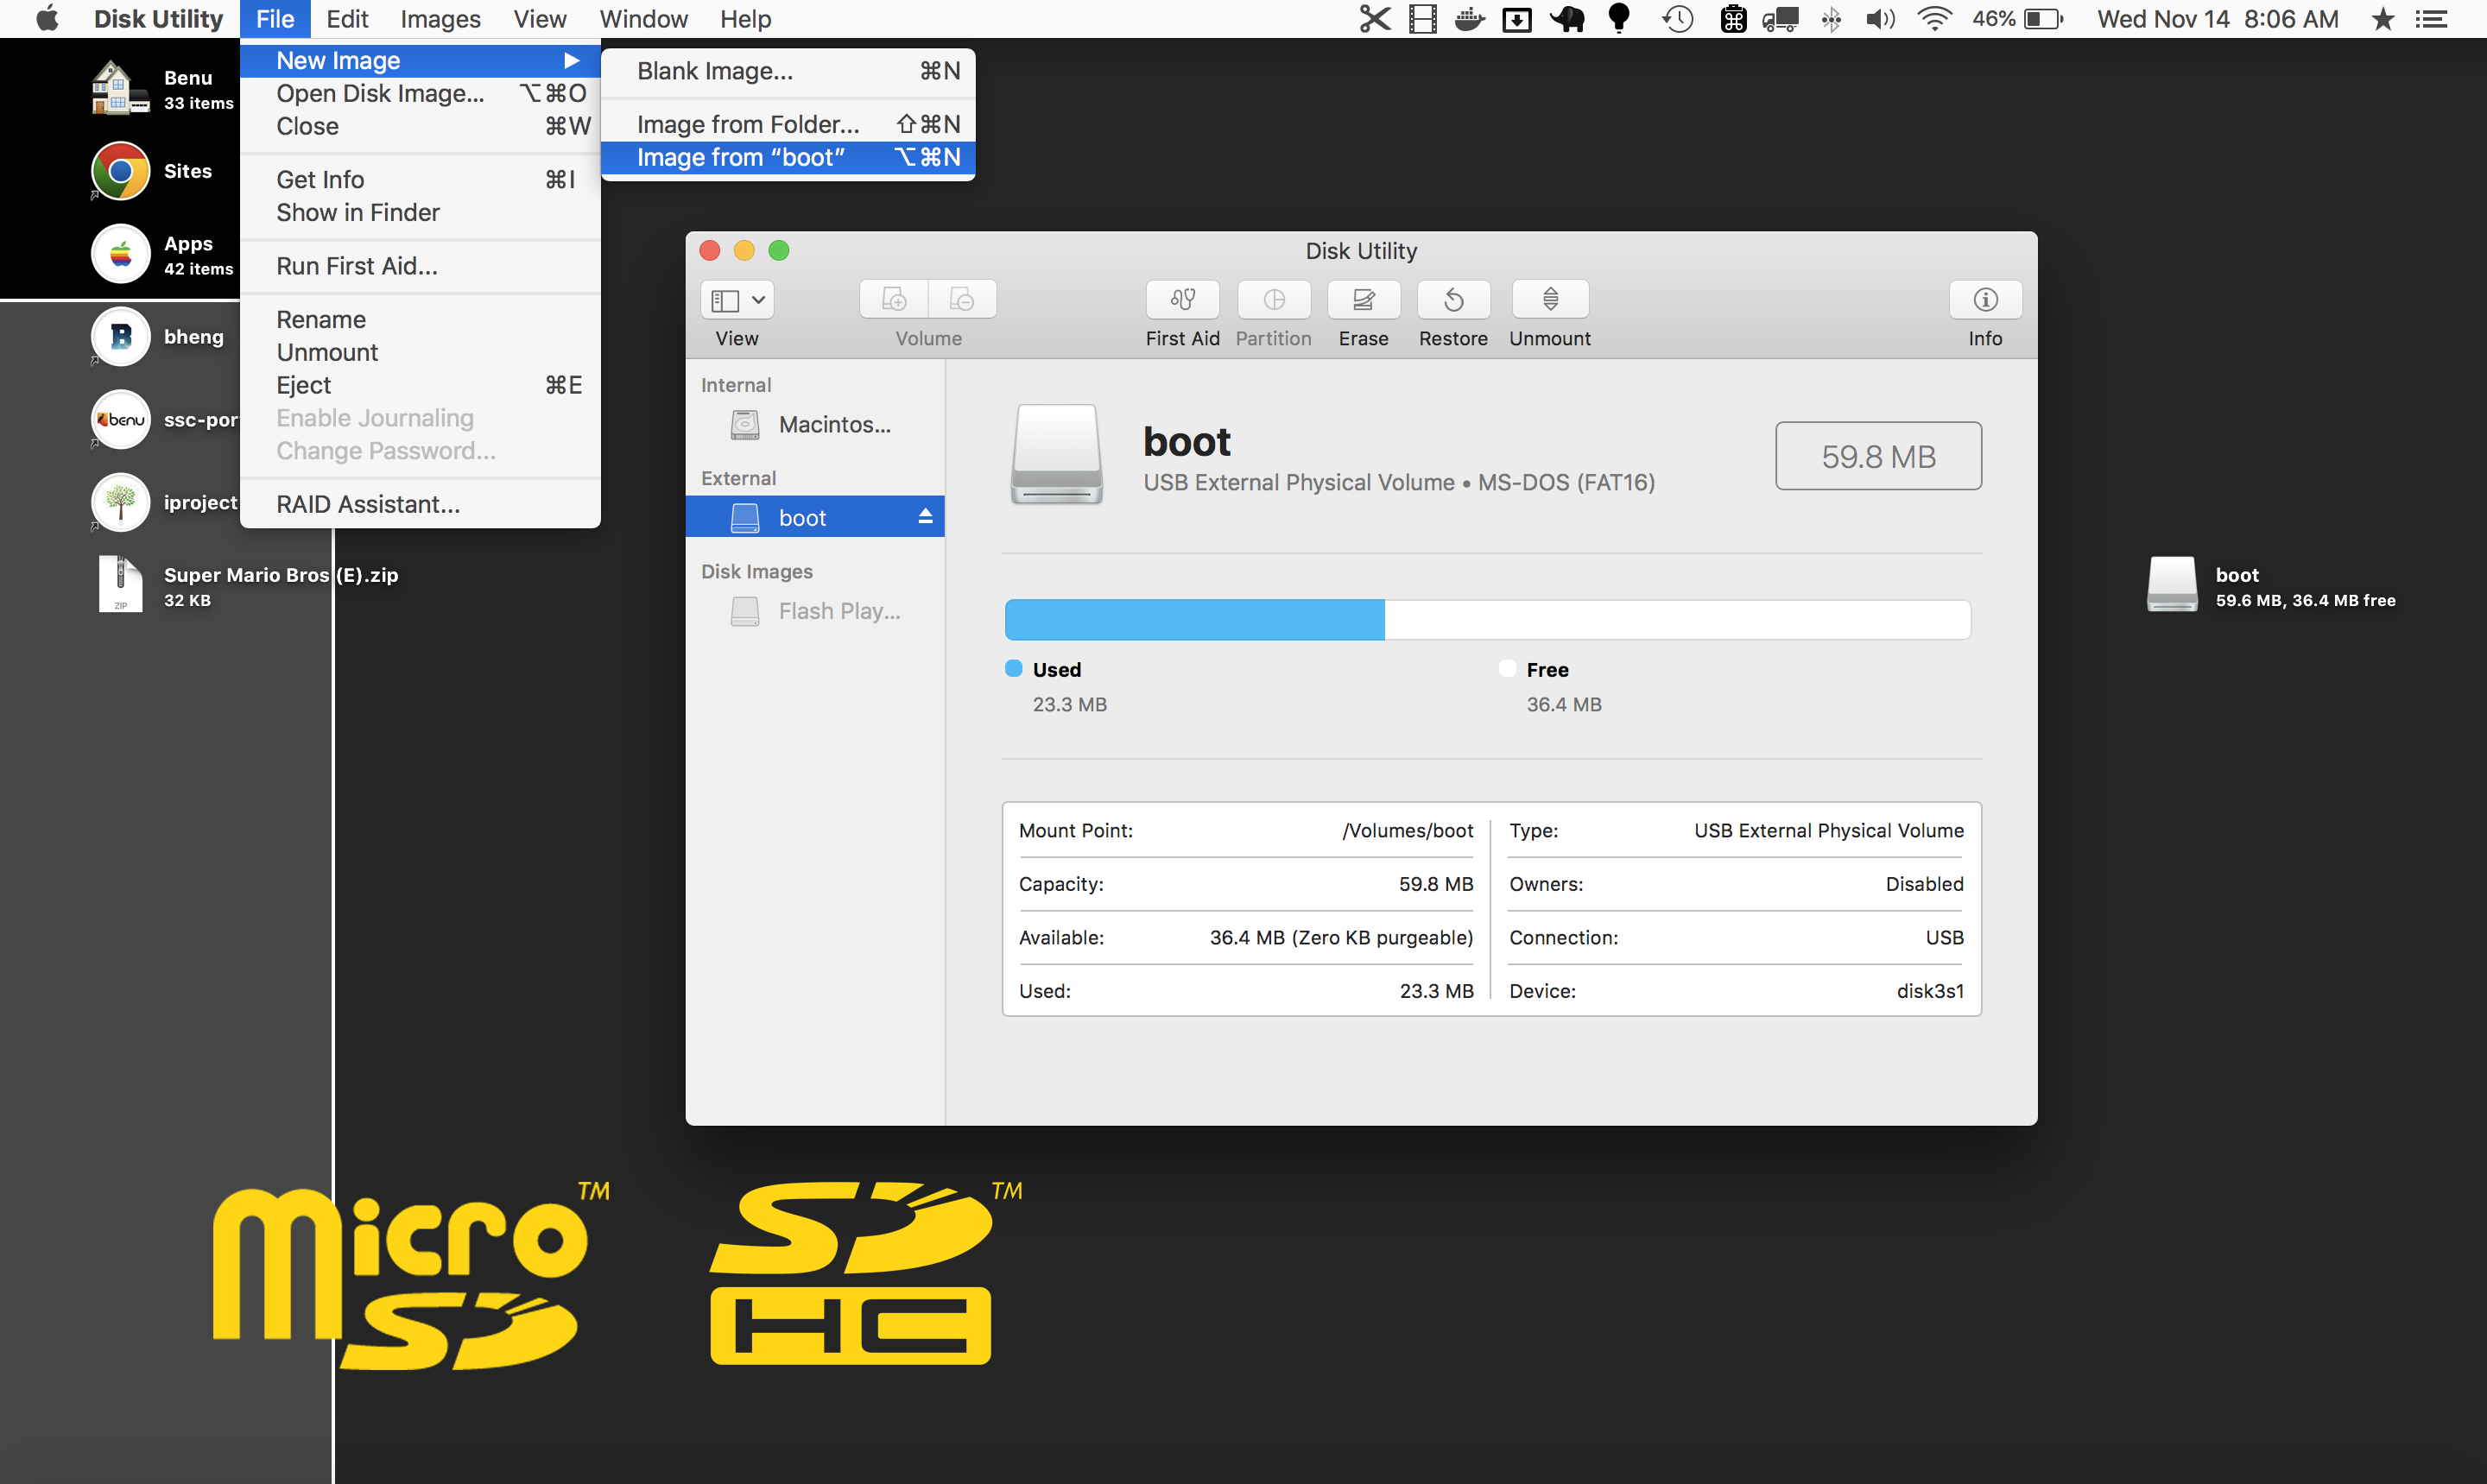
  3. Right click and select "Image from XXX"
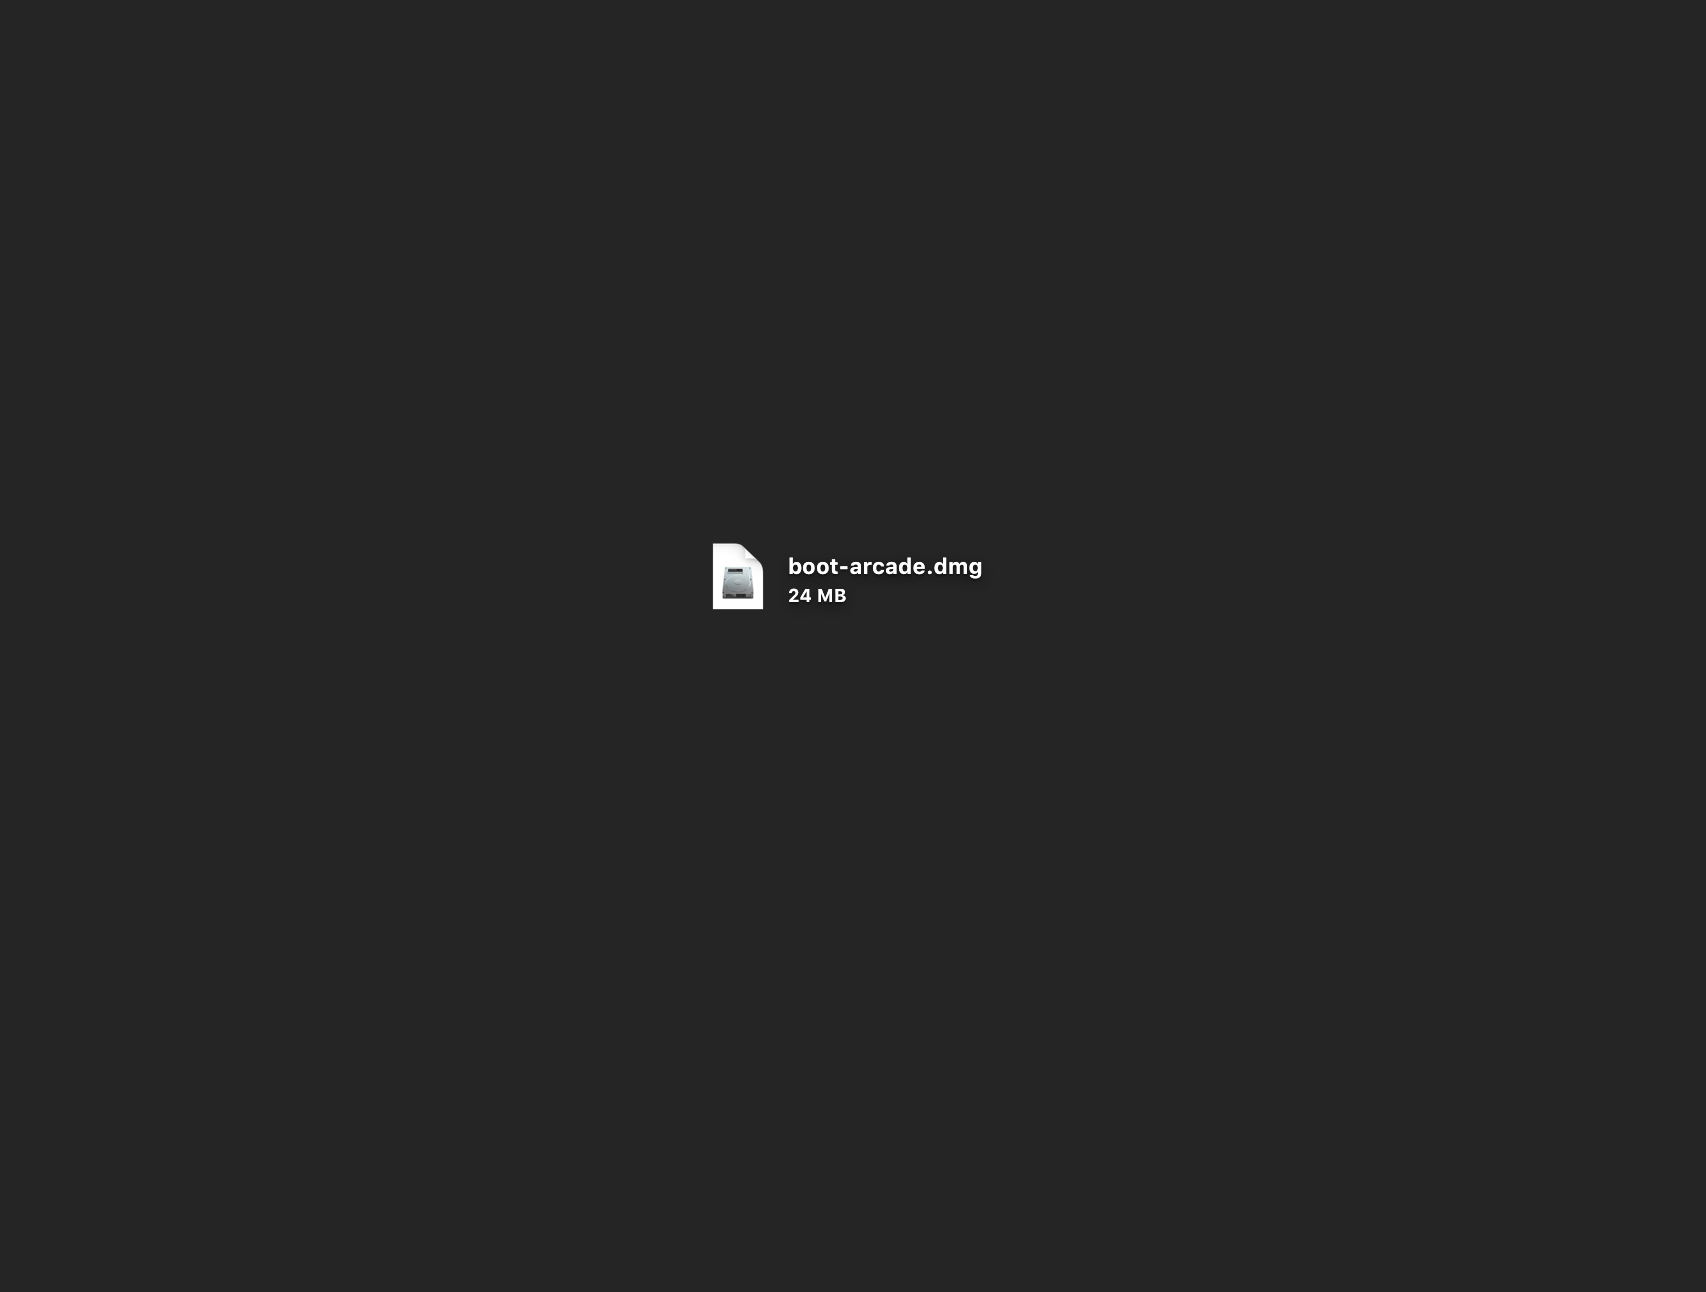
  4. Choose a name and select "compressed"
  5. Wait...
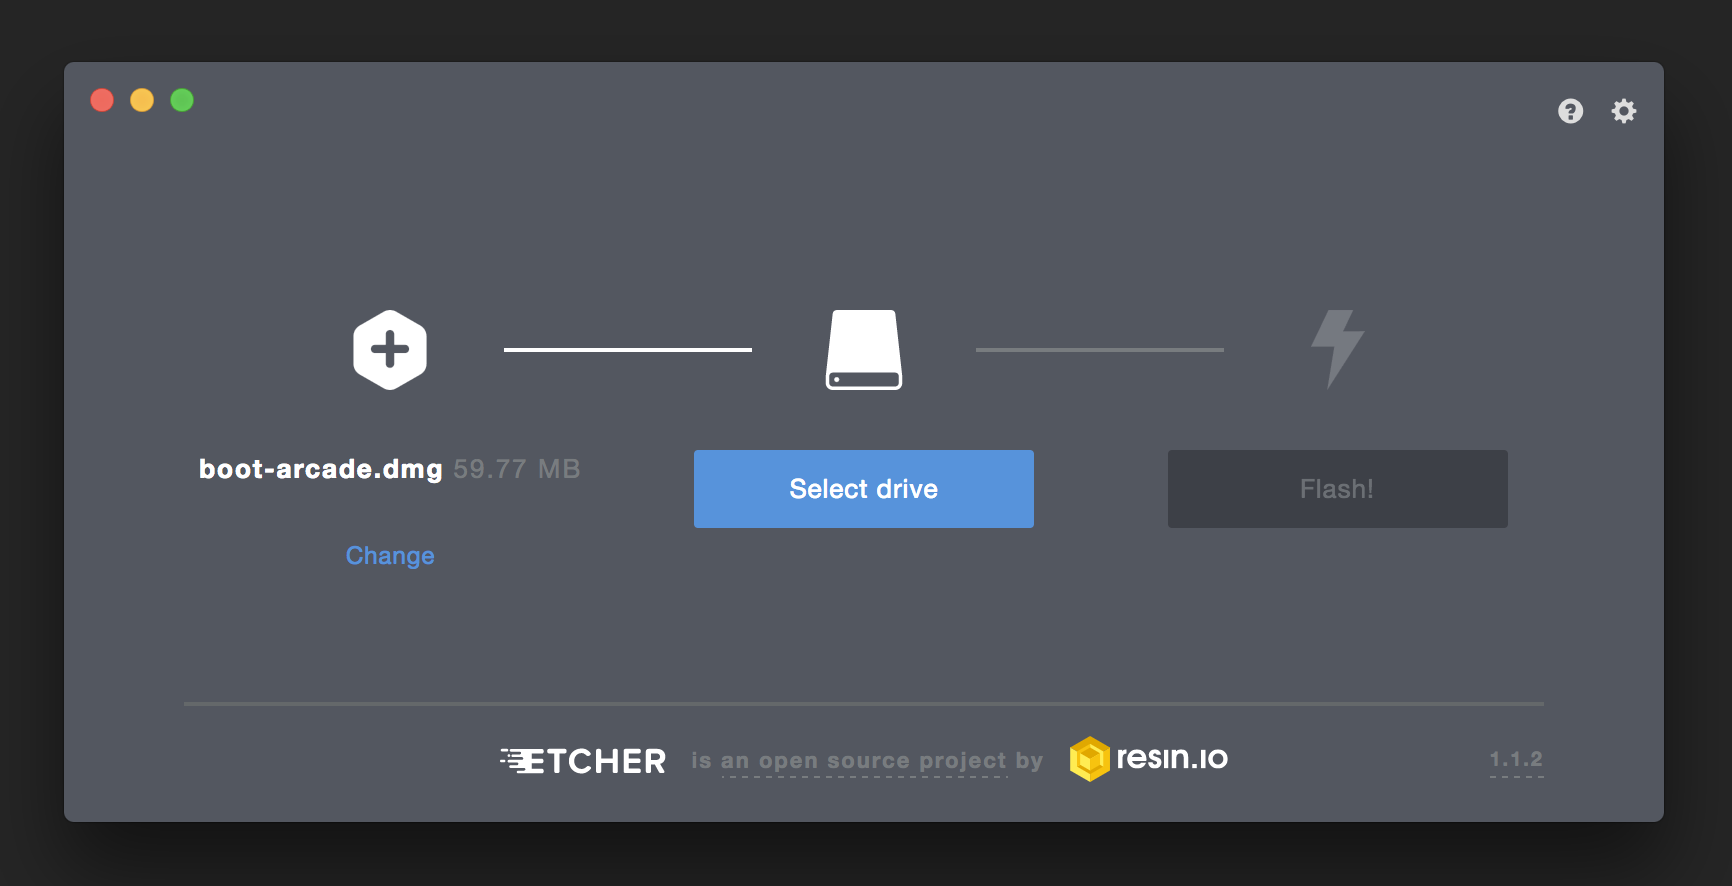
  6. Open balenaEtcher (or download it if you don't have it)
  7. Select the saved image and the same or a bigger card.
  8. Flash it
  9. If the new card is bigger then expand the filesystem with raspi-config
  10. Done

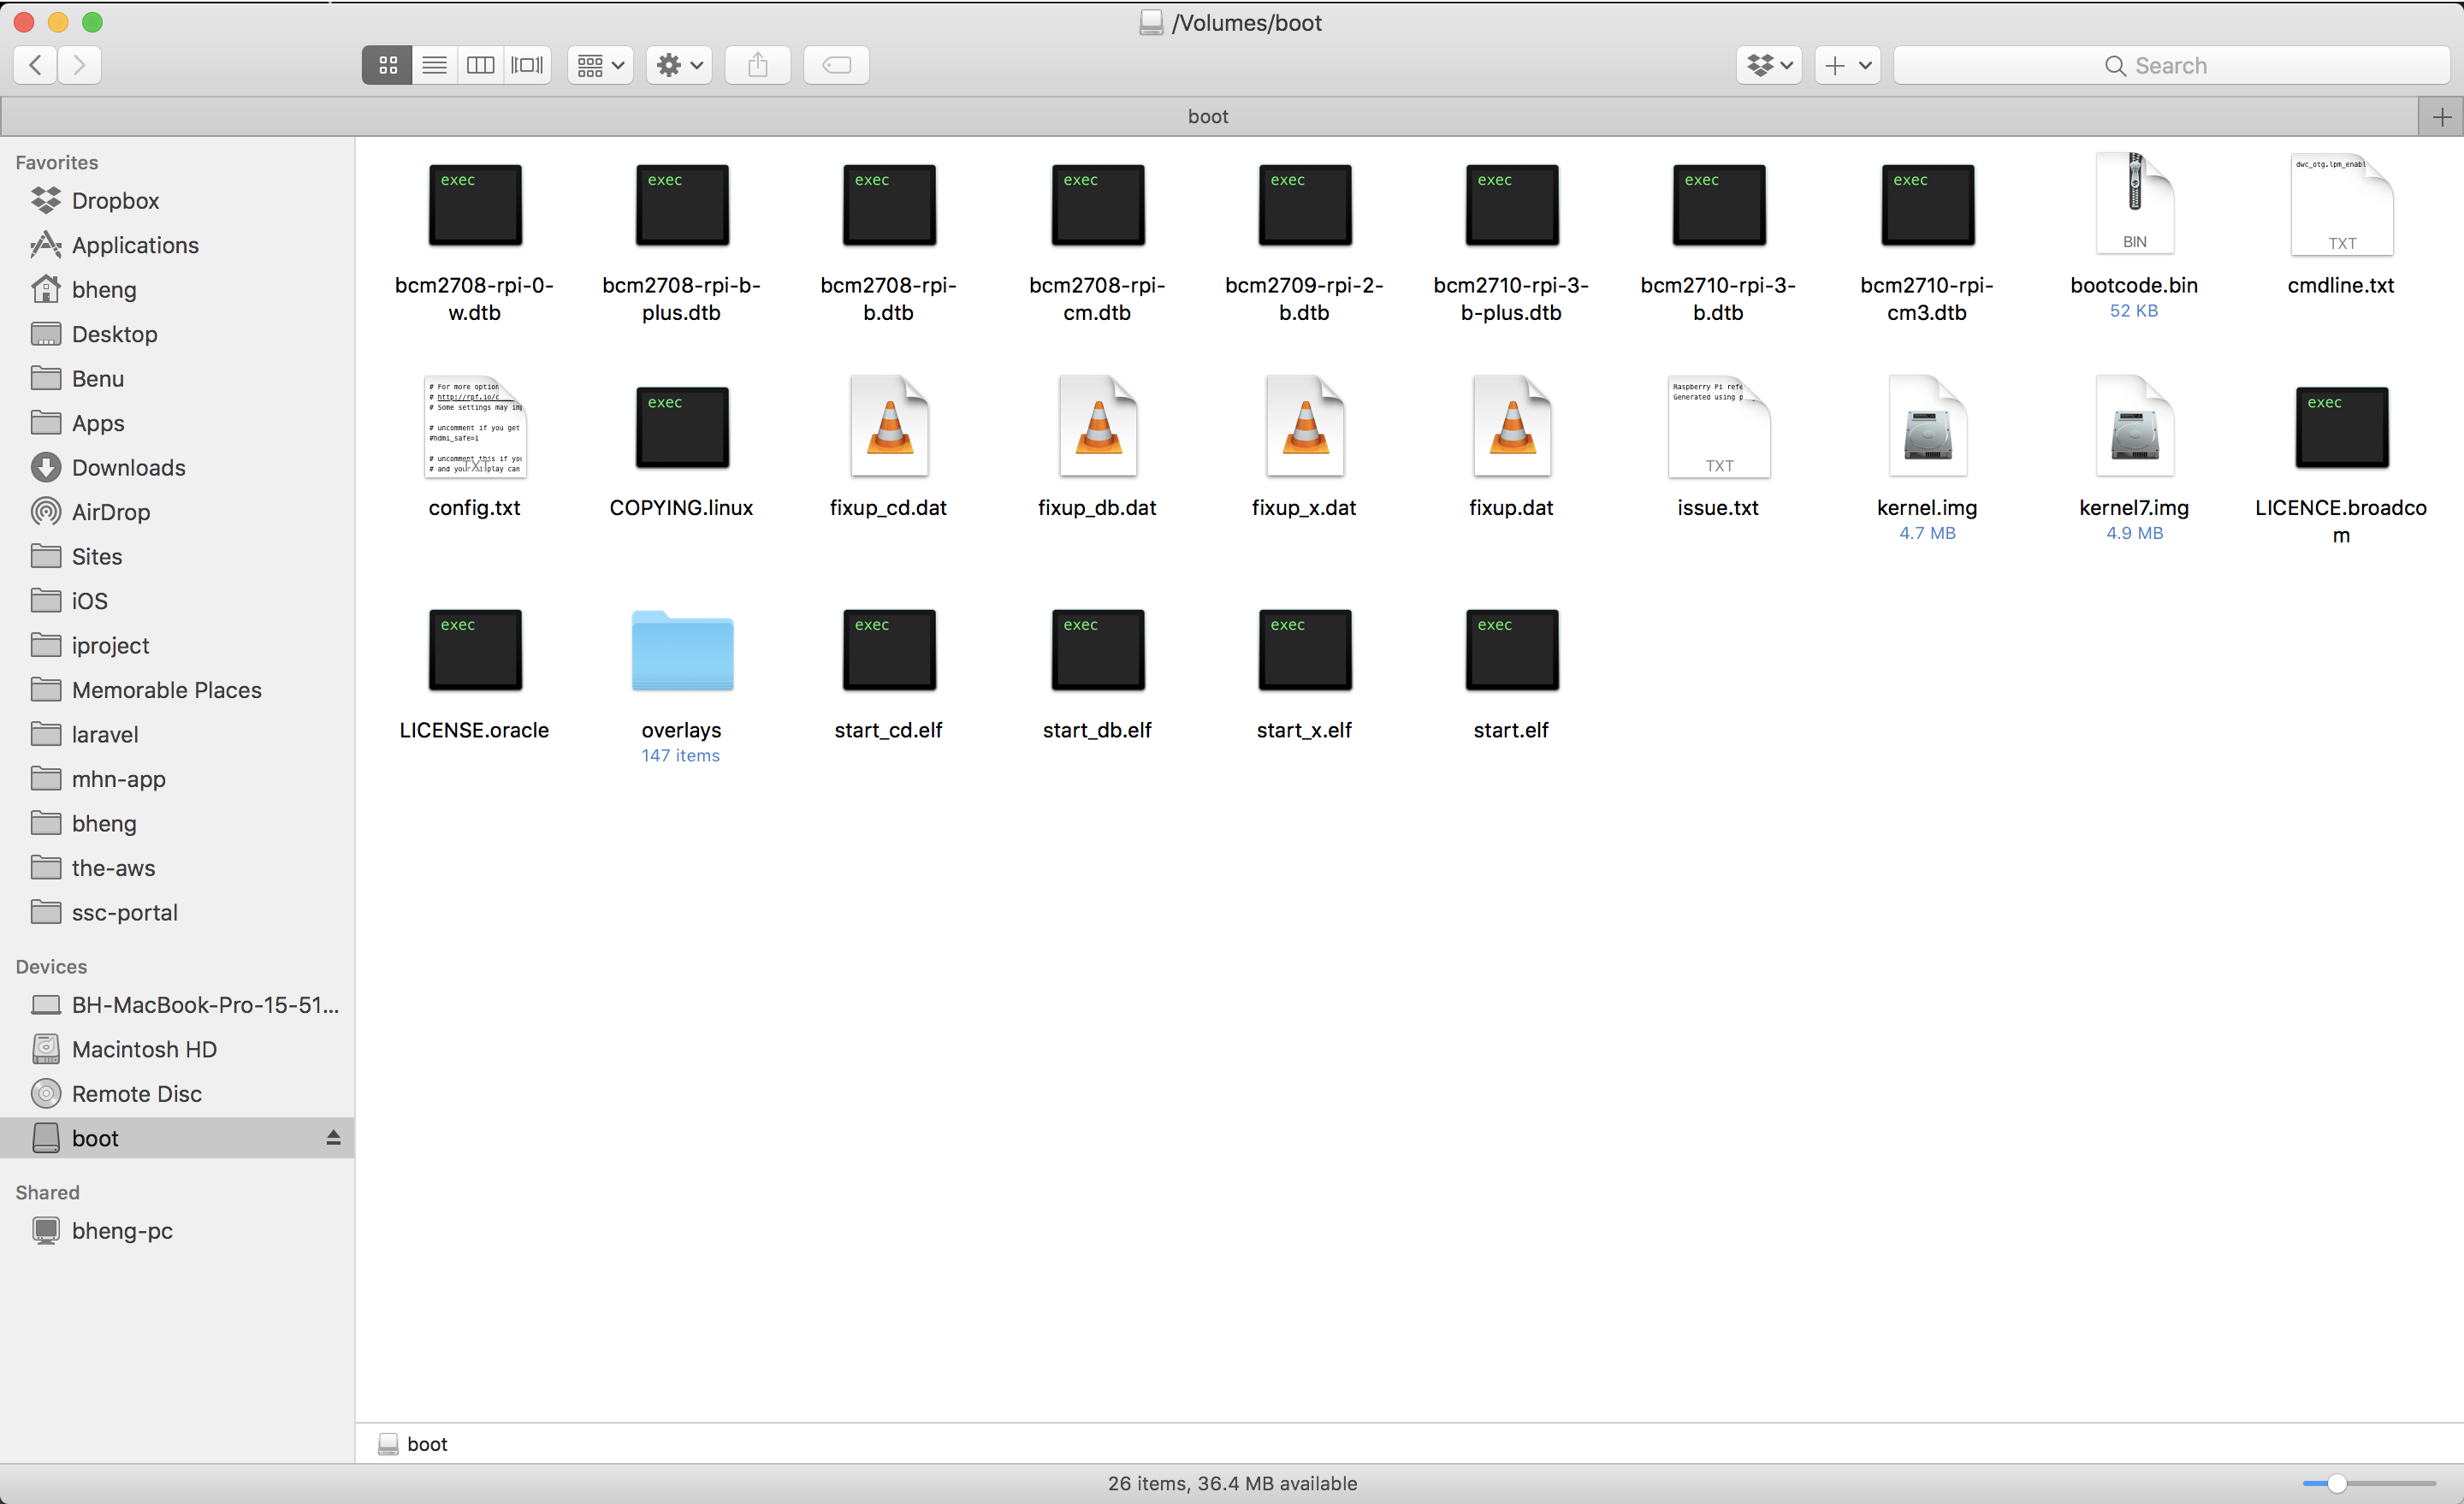
Disk utility actually clones the whole disk not just the "boot" partition and compresses it on the fly, which saves a LOT of time. Etcher is able to expand the image correctly and flash it. That means that the flashing procedure can take longer than the creation of the image, because Etcher flashes everything including the expanded non-data bits.

This solution is so seamless and fast that it has become my main backup strategy for raspberries.

Tested with the following specs:

  • Mojave 10.14.6
  • balenaEtcher 1.5.52
  • Raspberry Pi 4 4GB (Raspbian Buster)
  • SanDisk Ultra 16 GB
Appyx
  • 101
  • 1
0

I apologize in advance for the brevity of this response. Many ways (on optimally operating OS'es) have been documented here, and elsewhere to back up the Raspberry OS sd. On my system, when I tried to make the copy, I get "Operation Cancelled". When I go to Privacy/Security and try to enable Full Disk Access, there is nothing to enable on the right side of the utility itself. Disk Utility is not there. I went to my home folder (Apple HDD/Applications/Disk Utility) and added it. It still doesnt show up on the right side, but it worked, I closed it, re-ran it, image copied. In other words, I had to go hunt down Disk Utility and enable it.

0

dd if=/dev/disk3 of=/home/user/desktop/images.img bs=1m

replace disk3 with what your mac tells you

after that you can copy this image to your sd card with Pi filler

Aloha
  • 7,176
  • 1
  • 29
  • 52
Yannik Mündler
  • 49
  • 1
  • 1
  • 3
0

How about: https://medium.com/a-swift-misadventure/backing-up-your-raspberry-pi-sd-card-on-mac-the-simple-way-398a630f899c ? Found your question when checking something with etcher.io and my machine doesn't have enough free space for me to clone the sd i'm looking to at the moment but i've used this and verified it works to make an iso image that etcher will recognize but i haven't booted on pi again yet. Seems like a likely answer option though :) and i'd definitely agree this way would be easier for 80% of folks using pi with mac

medright
  • 11
  • 2
-1

Back up

enter image description here

then you will have this bootable image at the end

enter image description here

restore

enter image description here

test

enter image description here

✅ All my contents are coming back. :D

code-8
  • 177
  • 3
  • 12