1. Reset
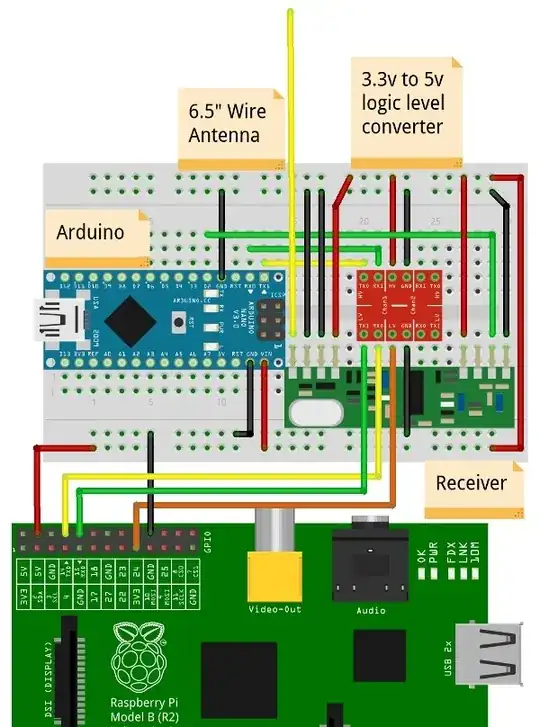
The Pi 2 has a reset pin. According to this article it's a two pin header (unpopulated holes only) located between the display socket and the ACT LED. Supposedly, it's also labeled "RUN". Shorting these pins pulls an input pin of the BCM low, and thus resetting it.
So, to emulate this with the Arduino, it's only necessary to figure out which of the two pins is ground and which is the actual input pin. Then, simply connect the input pin to some digital output of the Arduino. Set high to keep the Pi running, pull low to reset. Mind the 3V3 logic level of the Pi though, use appropriate level converter, essentially the smallest of an switching transistor would suffice. This transistor would typically be operated in open-collector (or open-drain) mode. Note that this circuit is inverting the logic signal. The Run pin actually has 2 clamp diodes a pull-up resistor and capacitor connected (at least that's what we know about the model B, Rev 2.1).
2. Power cycle
Look for a so called high side switch here, e.g. utilizing a P-channel FET. To get an idea how this could work see here.
