I am completely new to arduino. I have created a circuit using solderless breadboard. But obviously the connections are lose or not as good as a soldered solution. So I was wondering since I am new to circuits too, what is the easiest
Asked
Active
Viewed 1.2k times
8 Answers
21
Breadboards are for development and testing. When you are OK with your circuit, then you solder it.
Your alternatives:
Point-to-Point
Just solder directly component to component. You can arrange your component for minimal space and minimal wiring length. Can be very elegant (depends on your abilities) and doesn't require any board.

Perforated board
For personal projects, you can use a perforated board to put all your components. Requires some planning in components placement and wiring (you can paint yourself in a corner). Easy to do.

Expansion Shield
It's a perforated board on a shield, so you just plug it over your Arduino Uno. Great if you need easy access to lots of Arduino pins. Cons: little space for components. There are versions with a mini-breadboard instead of a perforated board.

PCB
You can make your how PCB, but it's hard and too much work. Use it only for high volume production. It require lots of preparation and dangerous chemicals.

Useful links (YouTube)
Capn Jack
- 101
- 2
10
The next step up from breadboard is either matrix board or strip board.
Matrix board is a PCB with a grid (matrix) of holes in a 0.1" grid with copper annulars around them for soldering.

Strip board (also known as the brand name Veroboard) is like matrix board but the holes are linked together in long strips, a little like a breadboard. These strips run the length of the board and you have to break the strips (there is a special tool you can use, but most people just use a small drill bit) into the pattern you require for your circuit.

Yes, both of these require soldering - so now is the time to get to grips with how to solder. There's plenty of tutorials and videos online to help you get to grips with it (though don't grip the hot end...). Don't be afraid of making a mess of your first attempts, soldering takes practice to get it right - and having the right tools helps.
Get a semi-decent soldering iron - not a plumber's iron, but a proper electronic one. You can get basic ones quite cheap. I started out with one of these cheap Antex ones:

If you can afford it, though, go for a temperature controlled one instead. It makes soldering easier since you are less likely to lift pads from over-temperature.
And last you will want some decent solder. I use 0.7mm solder with a rosin flux core. Don't use solder that doesn't have a flux core, that is for plumbing.
Having a flux pen (electronic flux, not plumbing flux) will help get you out of some sticky situations with your soldering as well. The addition of flux makes the solder behave itself. Without extra flux it can me somewhat unruly. Also some desoldering braid and maybe a desoldering pump can be useful (I tend to use braid more than my pump these days).


Majenko
- 105,851
- 5
- 82
- 139
3
To make it easy, you can buy so-called proto shields for Arduino like below.
The advantage is that you can stick it directly on your Arduino (Uno/Mega) and you can soldier the extra components on the proto space.

Michel Keijzers
- 13,014
- 7
- 41
- 58
3
One alternative that I like is the "breadboard-like" copper boards from Busboard Prototype Systems. Several of their models have layouts just like solderless breadboards, but are soldered, and so more durable and stable, while leveraging your breadboard design pin-for-pin:

I love these because like many folks, I prototype earliest versions on one or more breadboards and these have the same hole layout, even down to the parallel power and ground rails down the sides. Very convenient and available in several sizes and other configurations.
TomServo
- 156
- 1
- 7
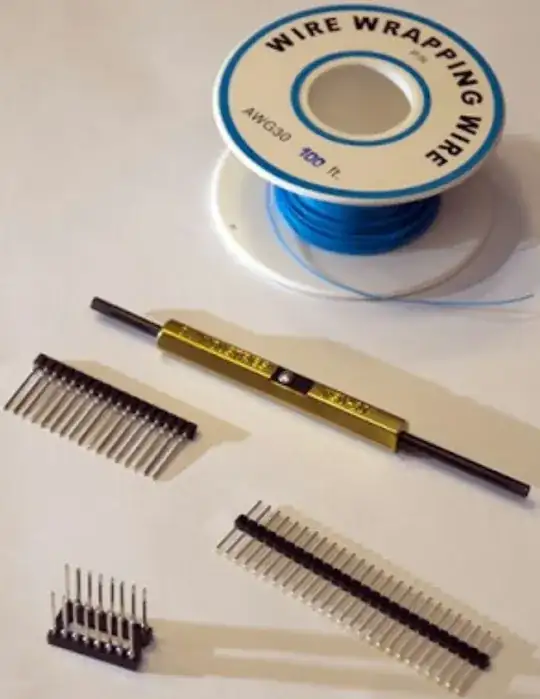 Use wire wrap for quick and easy prototyping.
1
what is the easiest
for most people, breadboard is the easiest.
I sometimes do point to point (deadbug, mostly RF or small things), or onto pcb adapters (ghetto-style).
dannyf
- 2,813
- 11
- 13
1
I have not had much luck with breadboards either. I see, on internet, that others seem to make even quite complex circuits. I can only assume it means I need to take more care to insert the components better and perhaps spend a bit more on a better quality product? I see the replies all give alternatives but no suggestions as to why Saad has problems and how to improve I would be interested to know too! At the moment, I also solder components to breadboards but it is a pain if I have to de-solder. I also use one of those childrens kits for experimenting with electronics together with a solderless bread board. It has transistors and capacitors etc and so I can connect it to IC or other particular components fitted to the [![enter image description here][1]][1]solderless breadboard. The photo is just to give an idea. I have also tried soldering small female sockets to breadboards and plug the various components into those for testing.
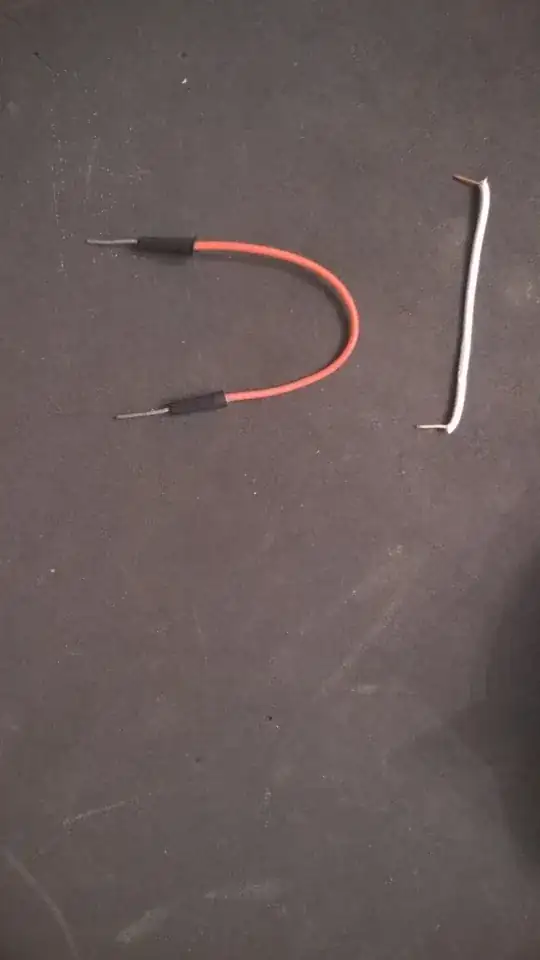
I have been experimenting more and reading some articles on internet. In fact, I found it better to make small jumper wires, rather than use tje ready made ones. The ready made ones tend to move and the contact is not so secure. It is nit so easy to make the small jumpers though and needs patience! I also made a small switch power supply board.. I found on "instructables" https://www.instructables.com/id/Ultimate-DIY-Breadboard-Power-Supply/#CB1TV2QJ70QKF7I It plugs into the bread board and I can select a required voltage

Misterxp
- 21
- 4
0
Make a PCB with a plotter

You can create a PCB using copper foil and a cutting plotter. The complexity of the circuits will be limited to the resolution and precision that you cutter can plot at but it's a great for prototypes or full projects.
If you already have a machine, the materials are cheap and circuits can be designed using any vector based editing software. Fritzing supports the export of vector files.
[LudwigLabs] is creating PCBs using copper foil and a cutting plotter (vinyl cutter). In this approach, it’s an additive process where instead of removing copper from a copper-clad board, the traces are cut out of copper foil and transferred to a solid backing surface (cardboard, fiberglass, etc.).
Ambo100
- 107
- 7