My setup is as follows:
- Arduino IDE 1.6.11
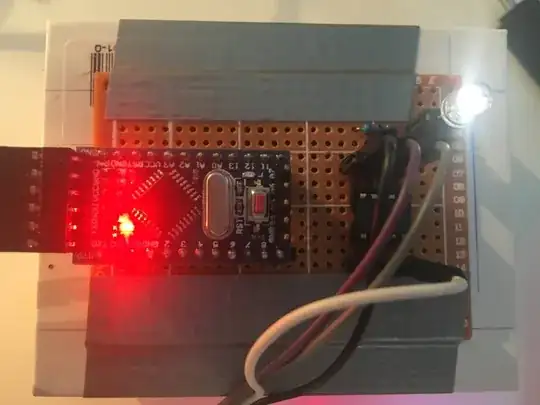
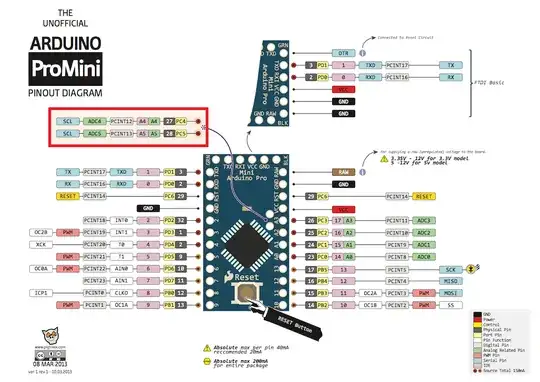
- Arduino Pro Mini as ISP
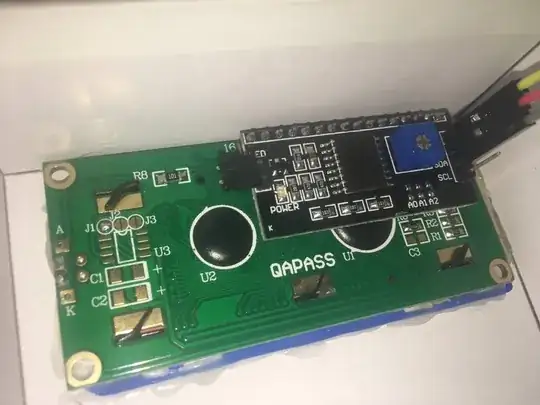
- ATTiny85 1602A LCD with I2C board
The libraries I use are:
- TinyWireM (source: https://github.com/adafruit/TinyWireM)
- LiquidCrystal_I2C (modified for ATTiny) (source: http://playground.arduino.cc/Code/USIi2c)
The Sketch I use to test with:
#include <TinyWireM.h>
#include <LiquidCrystal_I2C.h>

LiquidCrystal_I2C lcd(0x3F,16,2);  // set address & 16 chars / 2 lines

void setup()
{

  TinyWireM.begin();                    // initialize I2C lib
  lcd.init();                           // initialize the lcd
  lcd.backlight();
  lcd.clear();  // Print a message to the LCD.
}

void loop()
{
  lcd.setCursor(0, 0);
  lcd.print("Hello World on Attiny85");
  delay(2000);
}
The address is 0x3F, I found this using the scanner sketch, I also tested the LCD using the Arduino Pro Mini directly, it works fine.
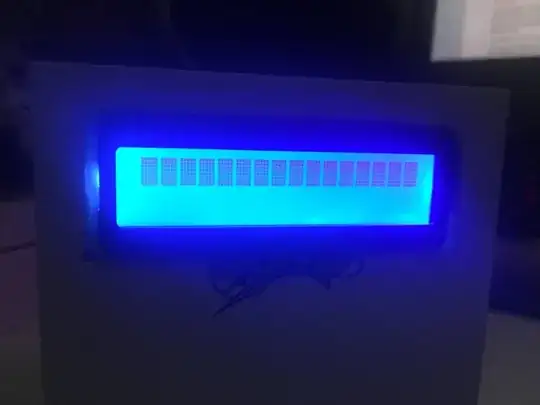
The result of this setup is a single line of black blocks. My guess is that the initialization failed in some way. I have tried some things to make it work:
- Pull-ups on SDA and SCL
- Isolated from Arduino with regulated power supply
- Setting contract with the pot meter on the back
- reinstall of PC
- reinstall of Arduino IDE
- 1MHz, 8Mhz, TinyCore default and High-Low Tech
- Replaced FTDI
- Replaced Tiny85
- Replaced LCD
- Replaced Arduino Pro Mini
Some pictures:
[EDIT]
Final sketch:
#include <TinyWireM.h>                  // I2C Master lib for ATTinys which use USI
// #include <LiquidCrystal_I2C.h>
#include "LiquidCrystal_attiny.h"
LiquidCrystal_I2C lcd(0x27,16,2);

void setup() {

  // Now set up the LCD
  //lcd.begin(16,2);               // initialize the lcd
  pinMode(4, OUTPUT);
  lcd.init();
  lcd.backlight();
  lcd.home ();                   // go home
  lcd.print("Weatherstation");
  lcd.setCursor ( 0, 1 ); // go to position
  lcd.print("BMP180");
  delay(2000);
}
void loop() {
  digitalWrite(4, HIGH);
  delay(100);
  digitalWrite(4, LOW);
  delay(100);
}


